 | |||||
| Examples of Society Silk edges |
Before stitching the scalloped edges on my antique project, I knew I had to figure out what I wanted to do with the round shape at the one end. (I call it a curl.)
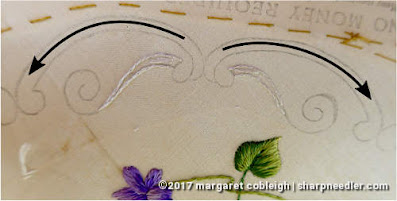
I found a curl on an authentic piece that was similar to my scallop and used it as a model. Then I determined the stitching order and decided to stitch towards the curls. I wanted the end to curve back towards the already stitched line. This meant buttonhole stitching in different directions (see arrows below).
I stitched one scallop as a test and it had its issues. It turns out that the design lines were too faint and I couldn't really see what I was doing. My old eyes didn't help and neither did magnification. The result was some very uneven edges, especially the inside edge. It was hard to tell if the inner line was really the design line or a shadow. I didn't pull it out. It wasn't bad enough to make me want to restitch it!
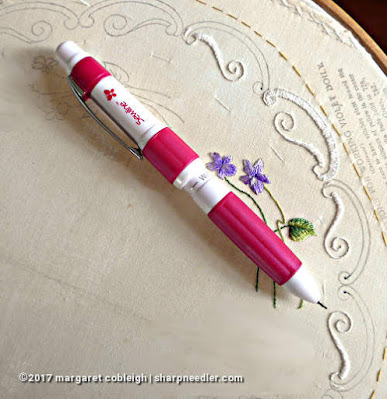
So I refreshed the the lines with a chalk pencil and tried adding a line and centre dot with a Micron pen in the curls. I wasn't sure about using the Micron pen, but the dot I had initially put in with the chalk pencil disappeared as I stitched, which made it difficult to keep track of the centre of the curl. It seemed like the dot was moving as I stitched around the curl.
I was concerned that the Micron could be too dark and might possibly show through the white threads. I also just didn't like the idea of using a MIcron on my antique stamped linen. The chalk pencil isn't permanent, the Micron is. I'm kind of commitment-phobic when it comes to drawing on embroidery fabric.
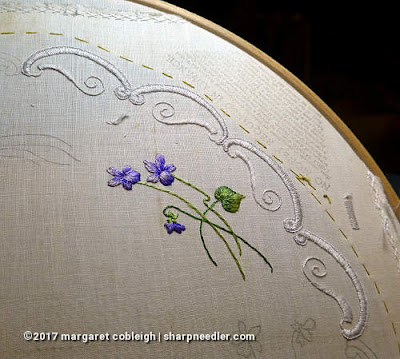
It was time to stitch more scallops which I embroidered in hand, by the way. The refreshed lines definitely yielded better results, but it took me a while to settle into the buttonhole stitch. They got better (i.e., more even) the more I stitched.
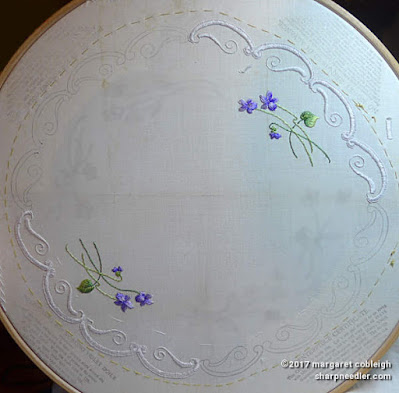
The buttonholing drove me crazy. The seemingly endless embroidering of white thread on a light coloured background and the same stitch over and over was mind-numbingly boring, but I persevered and finished off half of the border (eight scallops).
I ended up using the chalk pencil for the line/dot on the curls instead of the Micron. I was able to cover the MIcron, but it was easier to cover the chalk pencil. I just made a harder line with the chalk pencil instead of the light lines I usually mark.
I'm very happy with the look of the border. The modern white thread has a lovely sheen that goes well with the in-your-face bling of the antique threads.
Now, it's time to have some dessert (aka: stitch more violets).


This was an informative article. I now want to take out some of my vintage doilies, lace pieces I have and study the borders and other stitches.
ReplyDeleteCareful. Looking at these things too much can lead to wanting more of them! ;-)
DeleteThank you for informathion . Look beautiful !!!
ReplyDeleteBorder is looking good.
ReplyDelete